
Google开放AI工具Colaboratory使用教程
Google开放AI工具Colaboratory使用教程
[TOC] Colaboratory 是一个 Google 研究项目,旨在帮助传播机器学习培训和研究成果。它是一个 Jupyter 笔记本环境,不需要进行任何设置就可以使用,并且完全在云端运行。Colaboratory 笔记本存储在 Google 云端硬盘中,并且可以共享,就如同您使用 Google 文档或表格一样。Colaboratory 可免费使用。其实就是薅谷歌的羊毛。
Colaboratory介绍
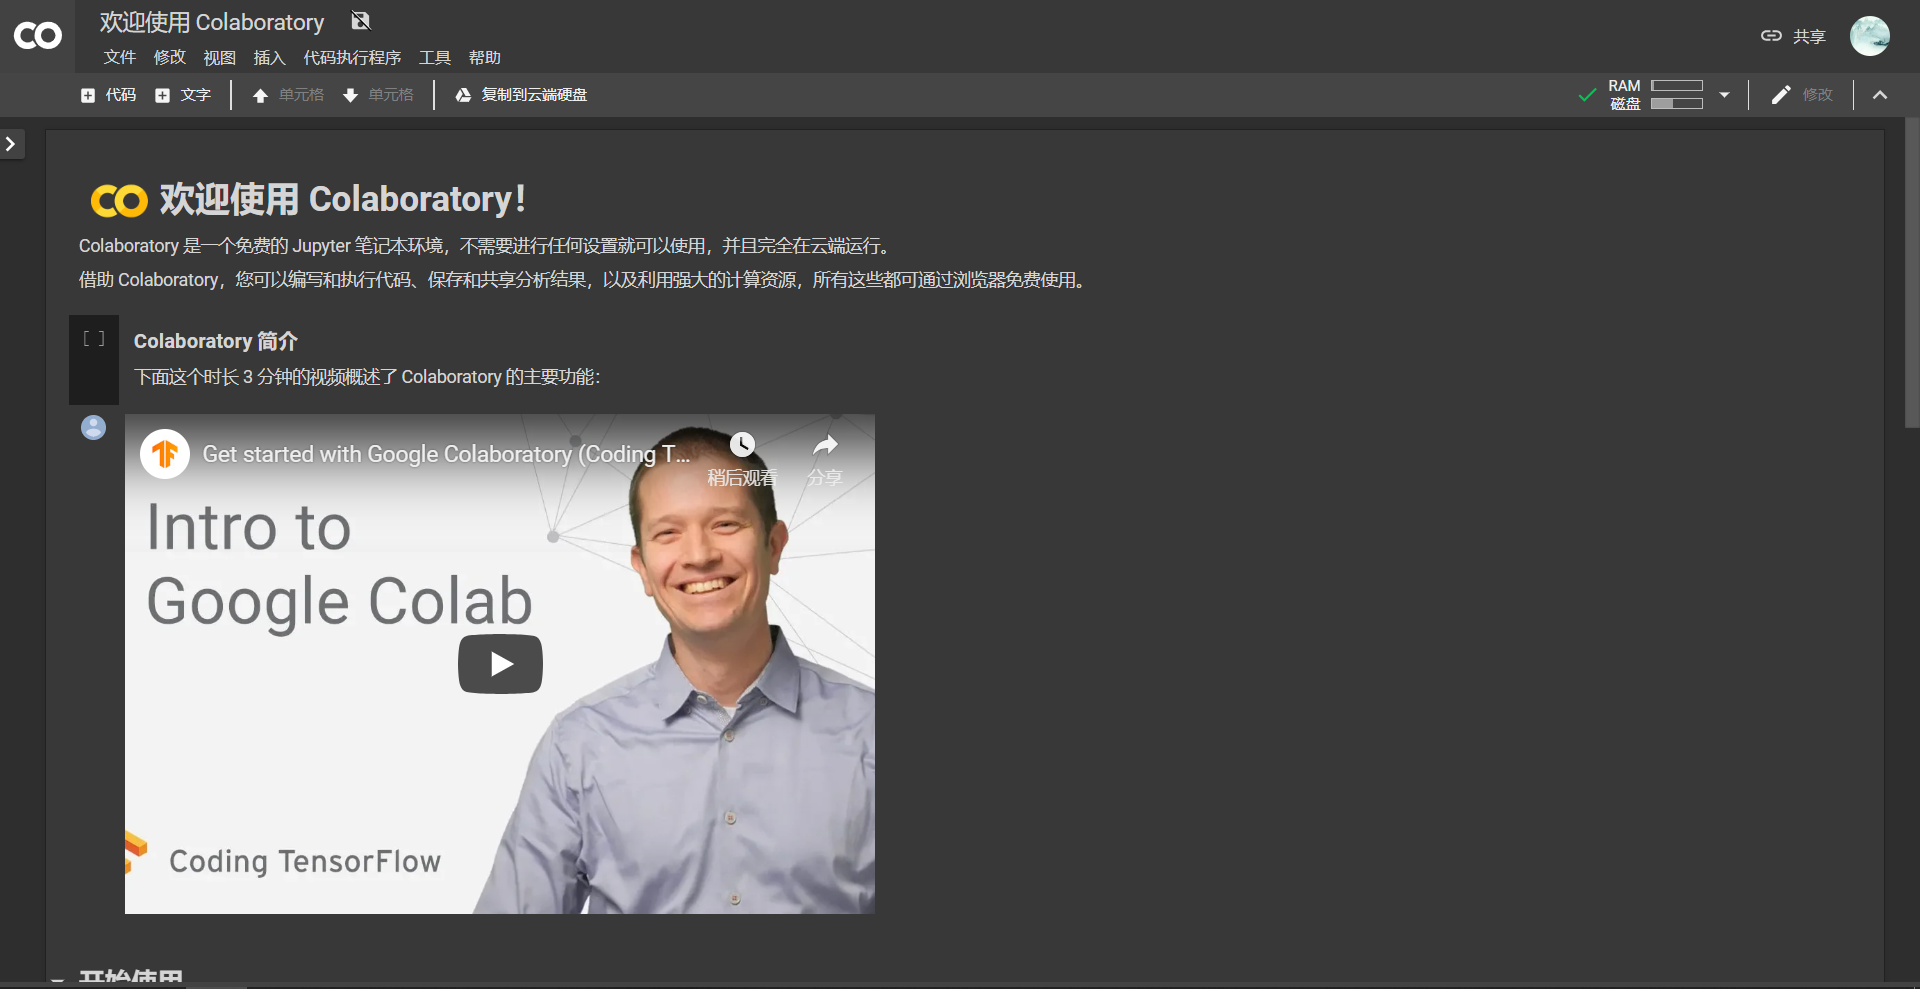
首先,访问CoLaboratory网站,注册后接受使用该工具的邀请。注册成功后可以打开Colaboratory 简介,会出现一个「Hello, Colaboratory」文件,包含一些基本示例。
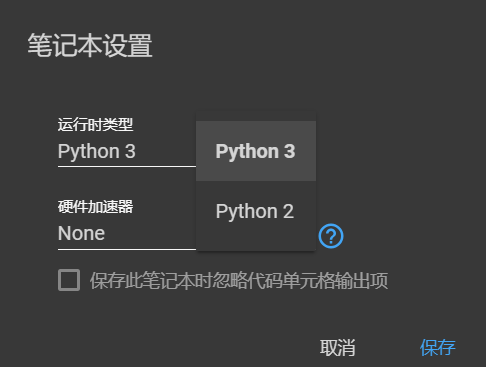
  注意右上角的连接按钮,如果没有连接是红色的。Colaboratory现在已全面支持python2和python3两个版本,可以在 代码执行程序→更改运行时类型 选择python版本,并在 硬件加速器 中选择是否使用GPU加速。

连接Google driver
先注册Google云端硬盘,注册后便会有免费的15G空间,日常跑个学习的程序,无论是保存程序还是数据集都足够用了,然后通过Colaboratory连接云端硬盘。 这里以Cifar-10 GPU版本程序为例: 首先连接到Google硬盘,因为我的程序都上传在Google硬盘中,新建一个一个python记事本,将下列代码复制到记事本中。 这段代码执行后会安装很多东西
# Install a Drive FUSE wrapper.
# https://github.com/astrada/google-drive-ocamlfuse
!apt-get install -y -qq software-properties-common python-software-properties module-init-tools
!add-apt-repository -y ppa:alessandro-strada/ppa 2>&1 > /dev/null
!apt-get update -qq 2>&1 > /dev/null
!apt-get -y install -qq google-drive-ocamlfuse fuse
执行下面代码,打开链接,将链接中授权的代码复制到框格中回车执行
# Generate auth tokens for Colab
from google.colab import auth
auth.authenticate_user()


# Generate creds for the Drive FUSE library.
from oauth2client.client import GoogleCredentials
creds = GoogleCredentials.get_application_default()
import getpass
!google-drive-ocamlfuse -headless -id={creds.client_id} -secret={creds.client_secret} < /dev/null 2>&1 | grep URL
vcode = getpass.getpass()
!echo {vcode} | google-drive-ocamlfuse -headless -id={creds.client_id} -secret={creds.client_secret}

最后一步,挂载Google driver
# Create a directory and mount Google Drive using that directory.
!mkdir -p drive
!google-drive-ocamlfuse drive

print('Files in Drive:')
!ls drive/

# Create a file in Drive.
#!echo "This newly created file will appear in your Drive file list." > drive/created.txt
 执行以下代码切换目录
import os
os.chdir('/content/drive/')
下载测试代码
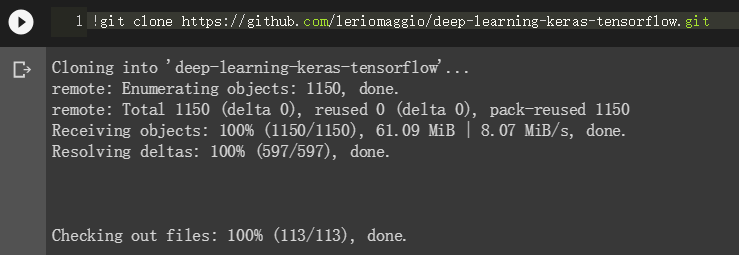
!git clone https://github.com/tensorflow/models.git
 Google官方导入数据示例
官方导入数据示例中有好几种方法,喜欢别的方法也建议去尝试。
执行driver中的程序
修改程序中数据的导入路径,执行程序:
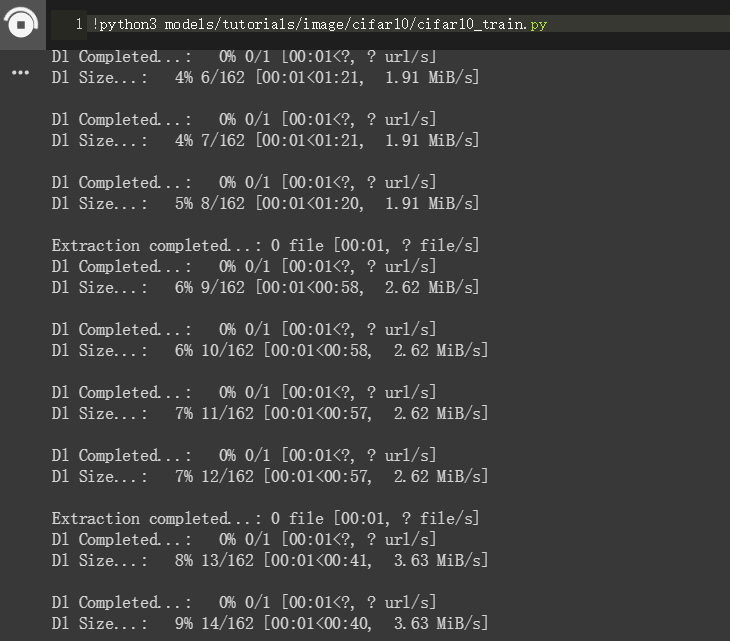
!python3 models/tutorials/image/cifar10/cifar10_train.py
执行效果:
 执行结束后将模型压缩,并下载到本地:
!tar -zcvf tf-model.tar.gz tf-model
下载模型到本地:
from google.colab import files
files.download('tf-model.tar.gz')
最后进行测试:
!python3 drive/Cifar10/cifar10_eval.py
Colaboratory自带的框架为Tensorflow,也可以自己安装别的库。 例如安装Keras:
!pip install -q keras
import keras
安装PyTorch:
!pip install -q http://download.pytorch.org/whl/cu75/torch-0.2.0.post3-cp27-cp27mu-manylinux1_x86_64.whl torchvision
import torch
安装OpenCV:
!apt-get -qq install -y libsm6 libxext6 && pip install -q -U opencv-python
import cv2
安装其他库: 用!pip install或者!apt-get install命令。


评论